 Here we are — Part 3. If you’ve been reading along with Part 1 and Part 2, you already know the rhythm. You pick a topic, you gather a few books, a simple activity or two, and maybe something to eat. You show up, and something small and good happens.
Part 3 is where the Traveling Spark Station gets wonderfully wide. We’re talking about the entire world — its creatures, its seasons, its countries, its history, and the people who shaped it. These topics help children understand that they’re part of something bigger than themselves: a family with a history, a country with a story, a planet full of remarkable things worth knowing about.
You don’t have to be an expert in any of these subjects. I certainly wasn’t. When we explored the solar system, I looked up facts alongside the children as they asked questions. When we studied the Lewis and Clark expedition, I studied a little each day the week before, just enough to be prepared. You don’t need to know everything. You just need to be curious and willing to find out.
One more thing before we dive in: the best Traveling Spark Station moments often aren’t the ones you planned. They’re the conversations that went longer than expected, the child who couldn’t put the book down, the craft that turned into something completely different, and ended up being better. Stay flexible. Follow the spark wherever it leads.
THE WORLD AROUND US
1. Ocean Life
When we explored the ocean, I was working with quite a group — a one-year-old, two three-year-olds, a five-year-old, and an eight-year-old. What surprised me most was that the eight-year-old was just as engaged as the littles, even though everything I had prepared was aimed at younger children. We read books, made a couple of crafts, and I answered what felt like a thousand questions about the ocean and its creatures. We had a fun time.
2. The Planets
I was given a solar system kit and, not knowing much about the solar system myself, I put it in the Traveling Spark Station and figured we’d learn together. It felt a little rough around the edges, but that’s perfectly fine. There’s nothing wrong with letting a child watch you look something up, puzzle something out, or admit that you don’t know. Treat not knowing as a door to adventure and walk through it together. We had some great books, and that night we went outside and stared at the sky for a long time. It was a very good evening.
3. Stars
No matter how wonderful your Spark Station contents are, some days don’t go as planned. I want you to know that and be at peace with it.
The week before our star’s activity, Jack had mentioned he wanted to make gingerbread. I forgot. The Traveling Spark Station arrived full of star things, and Jack wanted to know where the gingerbread was. His mom, Jodie, bailed me out and promised the family would make gingerbread together that evening. Thanks, Jodie.
Despite my lapse, we had a genuinely fun day. We made a star mobile and stars in a bottle. We taped black construction paper to the underside of a bunk bed, crawled inside our fort, and stared at glow-paint constellations above us. The grands loved it and had lots of questions. We had Hershey Kisses for a treat, shiny stars, and read a book together. And the next time I saw Jack, I remembered the gingerbread.
4. Lions
Animals are some of the best Traveling Spark Station topics because children are already curious. When we talked about lions, the questions came fast and didn’t stop. We pored over books together, everything from simple picture books to large coffee table volumes, talking about what the children noticed in the photographs.
We learned that lions don’t live in jungles. They live on the savannah, where the grass is tall enough to hide in, and there’s plenty of room to chase dinner. A lion’s family is called a pride. Lions have only two enemies: other lions and man. Male and female lions look completely different from each other. We found Africa on the map and learned that the entire United States fits inside the African continent three times over. The children were astonished.
We made a lion head craft to hang on the wall and put together lion sandwiches for lunch. The whole activity lasted about an hour, and we had a ball.
5. Dogs
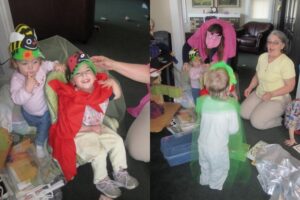
Are dogs related to wolves? Do they talk with their tails? Can they really smell better than we can? These were the questions we set out to answer — partly because Maggie, Mary, and Jack loved their two dogs, Odie and Coby, and partly because what we learned helped them be better dog owners.
We read a couple of books, made dog ears to wear, and built cookie dogs out of Oreo Cookies. They had enormous fun making them and even more fun eating them. We tested Odie and Coby’s famous noses with a little game, and the dogs performed rather poorly, which made everyone laugh. We ended by making a rolling dog toy together. A very fun day, and the kids genuinely came away knowing more about the animals they loved.
6. Dragonflies and Katydids
Sometimes the Traveling Spark Station topic chooses itself. One morning, I found a perfectly preserved dragonfly on my balcony — one of my favorite insects. A few days later, walking to the car, I spotted a magnificent dead Katydid on the sidewalk. That settled it.
Mary and Jack were fascinated. They even worked up the courage to hold the insects, though Maggie would have absolutely nothing to do with any bug in her hand and was completely firm about it. She was, however, utterly mesmerized by the books, poring over every picture long after the other two had wandered off. We made paper dragonflies from graduated circles of construction paper, wiggle eyes, and pipe cleaners, and flew them around the room before hanging them up; a simple, spontaneous, wonderful day.
7. Ladybugs
I was never a strong science student, but I loved zoology — entomology in particular. Did you know there are over 5,000 kinds of ladybugs? My grands didn’t either. They were hooked from that first fact.
Jack, Maggie, and Mary devoured the library books. They were fascinated to learn that ladybugs don’t always look the same, and absolutely delighted that baby ladybugs were, in their words, really ugly. Jack made a ladybug caterpillar instead of the ladybug crown everyone else made, classic Jack. Maggie, who was developing a wonderful sense of humor, adored the book Are You a Ladybug? We painted rocks to look like ladybugs and put them in the garden. A happy, bug-filled afternoon.
8. Gardening
On this Traveling Spark Station day, we went straight to the garden. The children helped pick strawberries and peas. We looked at the tools in the garden box and talked about what each one was for. I had a terrific book about large-scale farming: the machines, the processes, the scale of it. We compared that world to our small box garden. After reading, we made a tractor from the letter T.
We tasted four kinds of apples: red, yellow-red, green, and yellow, and discovered they all tasted different. We made a handprint apple tree, read a book about growing pumpkins, and I showed them the actual pumpkins forming on the vine, which thrilled them because the real thing matched the pictures exactly. We ended by setting up three jars of seeds to sprout: mung beans, alfalfa, and lentils, so they could watch something grow on their own, no garden required.
9. Winter
We began with a beautiful book called Stranger in the Woods, a pictorial story about woodland animals encountering a snowman, a stranger in their forest. Then we made our own snowman from felt and pipe cleaners, talked about what we each liked and didn’t like about winter, and looked through books about how animals survive the cold months. It was a quiet, cozy, creative Traveling Spark Station day — which felt exactly right for a winter topic.
10. Summer
A trip to the library turned up a whole stand of summer books, and I checked out eight. The children loved reading through them. We talked about what summer looks, feels, and smells like, what we wear, where we go, and why people sweat and dogs pant.
The Traveling Spark Station also arrived with everything needed for bubbles: a homemade recipe, store-bought solution, giant wands, tiny wands, a battery-operated bubble blower, and straws for blowing bubbles in a pan of soapy water. We had a summer picnic of water, dates, raisins, and graham crackers. Simple and perfect.
11. The Seasons
I will confess that I do not like winter, not even a little. What I do love about Utah, the state I live in, is its four very distinct seasons. Fall is my favorite, a sublime season that fits me perfectly.
We used the Traveling Spark Station to explore all four seasons together. We made gingerbread muffins to celebrate fall, read books about each season, and talked about how a full trip through all four seasons means another whole year has passed, and another round of birthdays. The children wanted to know whose birthday fell in which season. We took a walk, raked leaves, and made sun catchers to hang in the window. There are wonderful ideas online for exploring the seasons with older children, too. It’s a topic with no age limit.
COUNTRIES AND TRADITIONS
1. Karate and Collections
One of my favorite Traveling Spark Station moments happened without the basket at all. I was visiting a friend and began talking with her nine-year-old son, Jason. He showed me his eight karate belts. I had raised three boys and had a grandson who had taken karate, so we had plenty to share. Then I mentioned some Korean money my father had brought home after the Korean War. Jason’s eyes lit up; his dad had a coin collection. He disappeared and returned with a jar full of coins and bills from countries all over the world. We spent the next fifteen minutes going through it together. We looked at a Chinese bill and talked about what different currencies around the world are called.
The following week, I brought Jason a gold-colored Washington dollar to start his own collection. A friend later gave me some Indonesian bills, which I passed along to Jason. A simple visit turned into a connection that stretched across several weeks, no basket required.
HISTORY AND FAMOUS PEOPLE
1. The History of Trains
My friend Melissa took her Spark Station traveling on a train. Her family rode several trains on vacation, and she brought library books about trains and railroad history. The children loved reading about the transcontinental railroad and other train history while riding the rails.
It’s a simple principle: look at what your family’s already planning and let it inspire the Spark Station. Are you going to an amusement park? Look up the history of amusement parks. Going camping? Learn about John Muir and make a nature journal. The adventure you are already taking becomes the doorway to learning and family connection.
2. Lewis and Clark
One of the keys to a successful Traveling Spark Station activity is a little preparation. Lewis and Clark taught me that a little each day goes a long way. The week before, I spent a few minutes each day getting ready: one day, I found a book on the expedition and printed some coloring pages. The next day, I located a map of their trail. Then I found information on the Hidatsa people and on Sacagawea. Then I gathered what we needed to make a parfleche and a small replica of a keelboat. Finally, I wrote up a neighborhood expedition list: find a white rock, a purple flower, a feather, and so on.
By the time the day arrived, we were ready, and we had a wonderful time. A little daily preparation is all it takes to turn a big topic into a rich family adventure.
3. Black History Month and Martin Luther King Day
January brings Martin Luther King Day, and February brings Black History Month. Both found their way into my Traveling Spark Station every year. We had books, coloring pages, and simple activities. We talked about dreams and how people turn them into reality, and about the dreams the children and their families had for themselves. The kids were always fascinated.
Over several years, we explored Rosa Parks, George Washington Carver, Sara Breedlove Walker, Joseph Winters, Dr. Mae Jemison, and Sidney Poitier — an actor I had been absolutely mad about as a young girl. Whatever the age of the children you are working with, there is wonderful material available, from board books for the youngest to rich biographies for older readers.
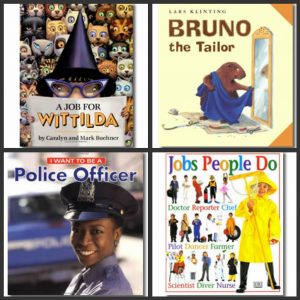
4. Famous People
Over the years, many remarkable people found their way into the Traveling Spark Station. I love history and understanding what motivates people to do great things. I discovered that my grandchildren did too. We would read about a person, talk about when and where they lived, eat food from their era, color pictures, and discuss how their lives were similar to or different from ours.
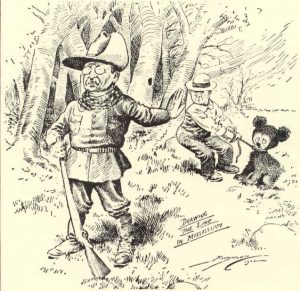
Some of the people we explored: Peter Cooper, Pearl S. Buck, William Jennings Bryan, the painter Grandma Moses, novelist Sir Walter Scott, playwright Sir Noël Coward, President Teddy Roosevelt, Alexander Graham Bell, Leonardo da Vinci, and Stonewall Jackson. History is full of fascinating people. Pick one that sparks you and share it with the children in your life.
The world is a remarkable place, and children know it instinctively. They want to know why lions don’t live in jungles, how Lewis and Clark found their way across a continent, and what their own family’s veterans were like when they were young. All you have to do is show up with a few books, a simple activity, and a willingness to explore alongside them.
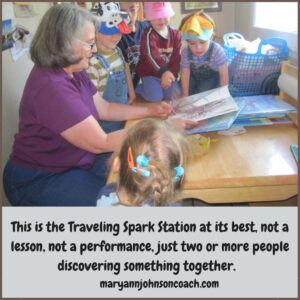
That is the Traveling Spark Station at its best, not a lesson, not a performance, just two or more people discovering something together.
In Part 4, we turn to holidays, and there are more worth celebrating than you might think. From Halloween’s Celtic roots to the surprising story of Labor Day, from the first Thanksgiving to the peculiar mathematics of Leap Year, holidays are some of the richest and most natural Spark Station territory.
 Welcome back.
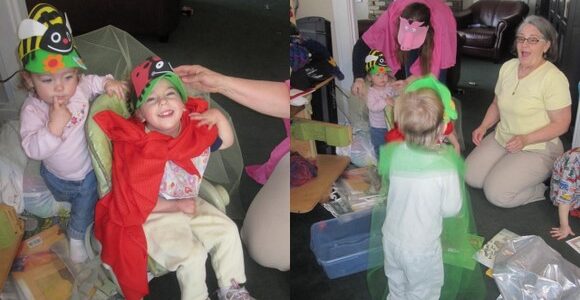

 When I first began writing and publishing articles, it was in 2010. My grands, the ones I still live with, were all under five. As their grandma, I wanted to find ways to play and connect. I’m not a board game person! Tea parties and dress up are not on my list of fun things! The truth is, I like learning. I always have. I thought a lot about how I could ‘play’ with my grands and make it work for all of us. What I came up with was learning for fun. Every Tuesday, for several years, we would gather and play/learn. They looked forward to it and occasionally would tell me what they wanted to know or ask about at our next Tuesday session. It was a hit and was called Grandma School. : )
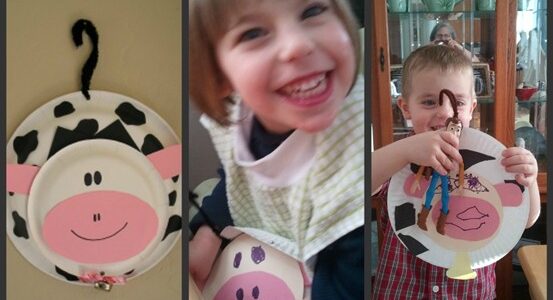
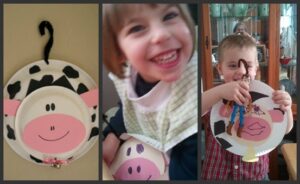
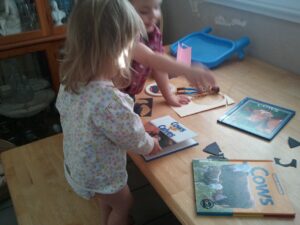 the pictures and I told them fun cow facts, such as, “Did you know a cow has four stomachs. You only have one, but a cow has four!!” That type of comment is usually followed by a question such as “Why Grandma?” Then we get to learn a bit more. Jack’s favorite cow fact was: “Daddy cows are called bulls and they go Moo really, really loud.” I did such a great daddy cow impersonation that it sent Jack into gales of laughter.
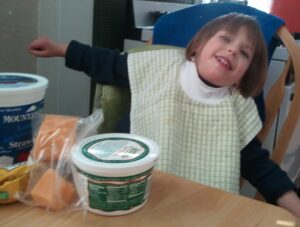 After the books, we did a cow activity. I had created a picture sheet on my computer that showed cool foods that are made from cow’s milk: cheese, cream, ice cream, milk for cereal, cottage cheese, sour cream, etc. I also had the real item on the table, if we had it. We looked at the pictures, talked about each item, and then tasted it. Of course, we all liked the cookie dough best. (It has milk in it!)
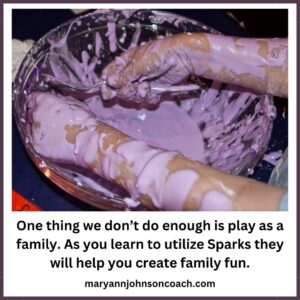
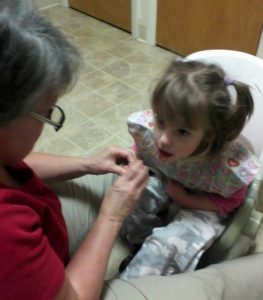
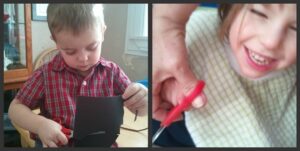 way, but then switched to using two hands and having me hold and turn the paper. Special scissors with 4 finger holes allowed me to help Maggie cut her own cow spots. She was thrilled. (Remember, Maggie, who is now eighteen, has severe cerebral palsy, so doing anything with help thrilled her and still does.)
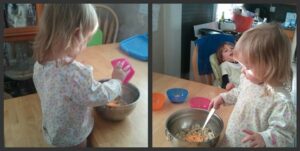 We ended the day by making mac and cheese. Cooking was a favorite activity, so everyone helped. The kids liked tasting the powdered cheese. We had our mac and cheese for lunch, and it was delicious. Maggie, Jack, and Mary decided that having cows in our world is a very good thing.
 Two weeks ago, I shared
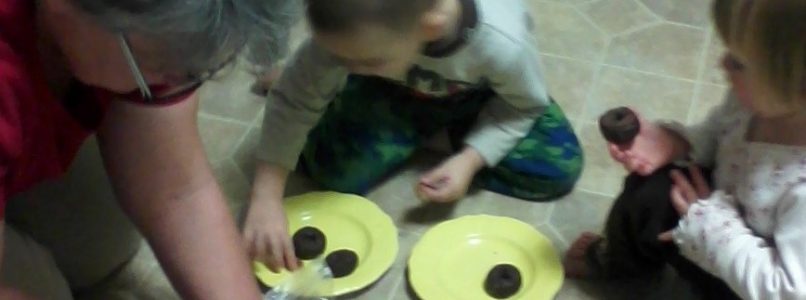
 this way.” So, I compiled a packet of simple, inexpensive and family-centered activities to help myself and others spend some quality time together at Christmas. I combed the Internet and gathered information and links so you wouldn’t have to.
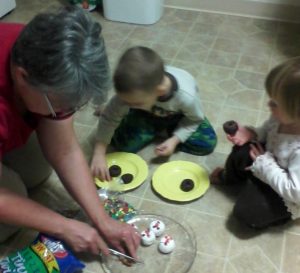
 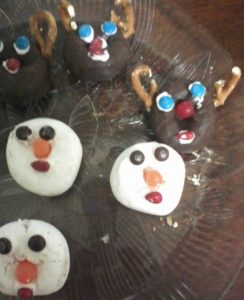 When I first put this together I tried it out. I had a few of my grands over and we did two of the activities. We made donut snowmen and donut reindeer. We learned that frosting and candies do not stick on powdered donuts very easily! We learned that if you don’t keep an eye on them, the noses will disappear from the snowmen’s faces. (Jack was that you?)
 When I was a girl I lived in a series of small towns. Just before the start of the new school year, there was a holiday called Labor Day. I had no idea what it was about but I knew it meant school was starting.
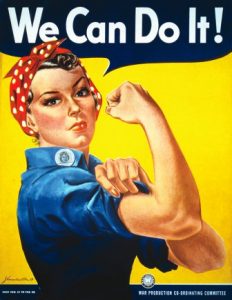
 description of each book
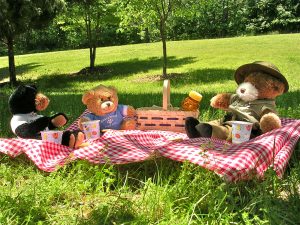
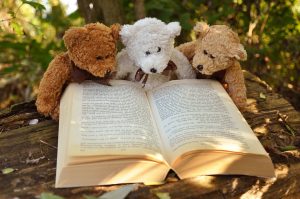 July 10 was officially named National Teddy Bears’ Picnic Day in 1988. Why not celebrate July 10th with your family and have a beary good time! You will find some teddy bear picnic ideas in this article to get you started.