 Recently I moved from one small town to another. It required four long months and two moves. It was not easy! We are still not fully moved in because the new floors are not completely finished and we still have a kitchen in progress. The bright spot is this – our bathroom is completely done. That’s right, we have one room in our home which is fully unpacked and completely decorated and ordered. I love going into that room and luxuriating in its completeness.
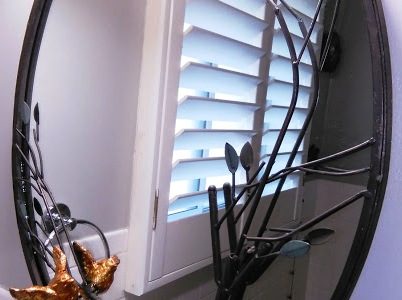
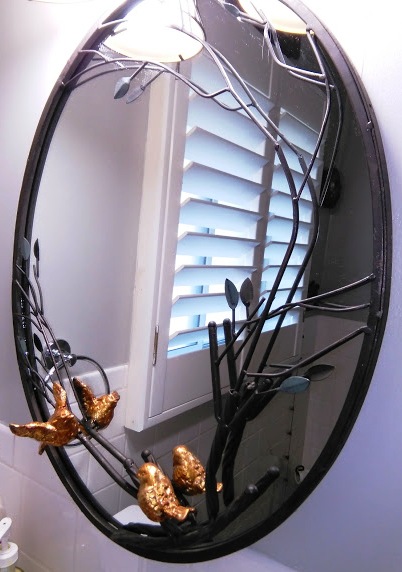
One thing that this room needed was a new mirror. The medicine cupboard is interestingly over the toilet but we wanted a new flat mirror on the wall above the sink. I didn’t want just any old mirror; I wanted something with birds on it because that is the decorative theme of the room. So I went on a search and found the perfect one online.
It’s so beautiful and going into the bathroom made me feel happy. Then over the next few days as I sat in the room I began to notice small flaws in the patina of the birds and how the branches were soldered together. My joy in the room diminished a bit.
Many years ago I spent some months in California with my daughter who had just survived a terrible car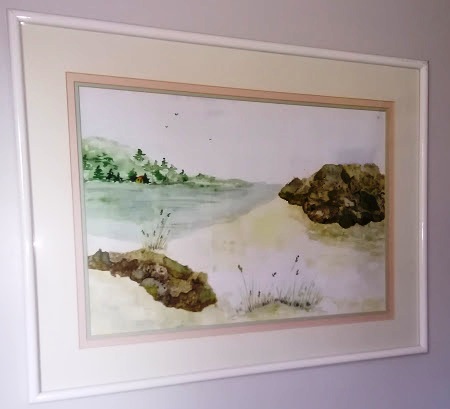 crash and as part of her therapy to regain her ability to talk and process information we attended a painting class. I was proud of my painting when it was finished. It was such an accomplishment. I had done a great job for a first-time painter.
My husband really loved that painting and as a special gift a few years later he had it blown up about five times the original size, put on canvas and framed. Wow, I was stunned. He insisted that we hang it on the living room wall. He liked it so much that he wanted to be able to see it all the time. I was flattered, to say the least.
However, when you take a 9″x10″ piece of paper and blow it up five times its size an interesting thing happens; you can see all the flaws! It wasn’t long before the joy of having that painting hanging in our living room diminished for me because if I could see all the flaws so could everyone who came to visit.
I am sharing these two stories because that is what I find when I’m mentoring parents, they are alive to all the flaws in how they do just about everything. Their joy in any family activity or relationship or family system is dampened by what they perceive they haven’t done as well as they should have.
A great example of what I am talking about was experienced by my friend Leah. She and her husband took their family on an amazing trip one summer. When they returned I asked her how the trip went, and she said, “Well, it was OK but it didn’t turn out as well as I’d hoped.” I asked her what went wrong, and she told me all the things they hadn’t done including having the boys journal each evening for writing practice.
I asked her to tell me what they did do. They went on a dinosaur dig and had a fun day. They sang a ton of songs in their van as they traveled. They had interesting conversations about the creation of the earth and what outer space would be like. They dug for gems one afternoon. They visited museums and other cool places. They had a lot of fun and laughter. Her boys learned new things to add to their growing store of knowledge about rocks and gems.
“My goodness,” I replied, “there are parents out there who would give anything for a week like that with their kids.” There was a pause on the other end of the line and then she said, “You’re right. I guess it was a pretty good trip after all. I hadn’t thought about it that way.”
Leah had done what I had done with both my bathroom mirror and my first ever painting. We had let our expectations get in the way of enjoying what was.
I have a bathroom mirror that sets off the whole room perfectly and that, if I let it, soothes me and makes me feel really happy. And I have a painting hanging on my wall that is darn good for a first-time painter and is a constant reminder that my husband loves me a lot! Leah and her family spent a week laughing, bonding and learning even though they didn’t accomplish all they had planned.
As we move through our days with our family it is valuable to remember not to let our expectations get in the way of enjoying what is; not to let less than perfect results mar the joy of the good that did happen.
A family trip will have its disrupted moments. There will be temper tantrums, spilled soda, arguments. But were there songs sung, hugs given, soothing words spoken occasionally? Then allow yourself to feel joy for those moments rather than disappointment for the others.
Baking cookies with your children may have spills and mess. You may feel worn out and edgy by the end. But did the children enjoy the process? Did they love the cookies? Then let that be enough. Feel joy in what is.
If you have a strained relationship with your child, watch. Despite the arguments, the poor choices, the stress, did you spend three minutes at bedtime, maybe not talking but sitting quietly with them. If so let yourself feel joy for those three minutes.
Life is messy. It is noisy. There are distractions. Relationships are challenging. We need to have expectations of better, we need to make changes and strive to grow, but if we learn to hold on to what is good now, what is working, focus on when we did right despite what we may have done wrong, then as a family and as parents we will experience more joy.
Link your satisfaction to your ability to enjoy what is right with your family even when it falls short of your expectations. It will refuel you to try again and you will like being in your family more. It will feel better.
What are your experiences with expectations in your family? I want to hear about the good, the bad and the ugly. : )
Heres to more joy,
Mary Ann
P.S. You can learn more about family expectations in my new book Becoming a Present Parent, Connecting With Your Children in Five Minutes or Less. You can also receive a chapter from the book on Touchpoints, points of connection, FREE by visiting becomingapresentparent.com It can be life changing for your family. I promise!
If you like this post, please share it with your community.
 Christmas is just around the corner.
  this way.” So, I compiled a packet of simple, inexpensive and family-centered activities to help myself and others spend some quality time together at Christmas. I combed the Internet and gathered information and links so you wouldn’t have to. You can print the PDF HERE.
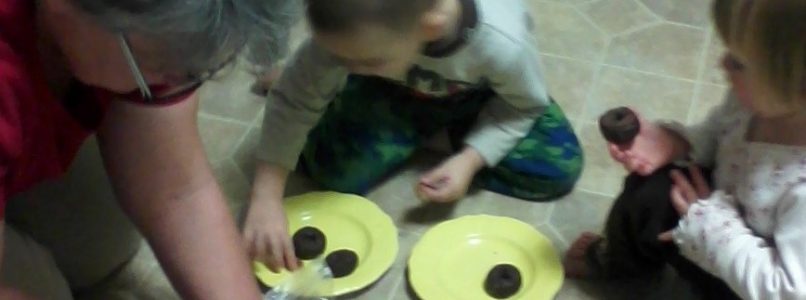
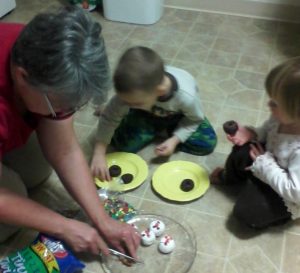
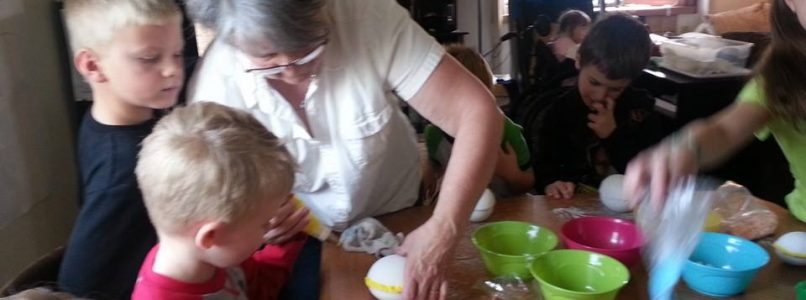
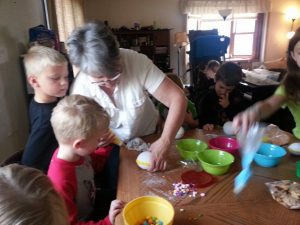
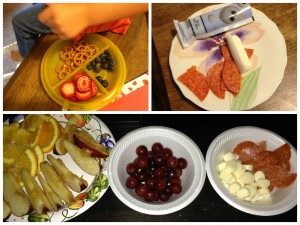
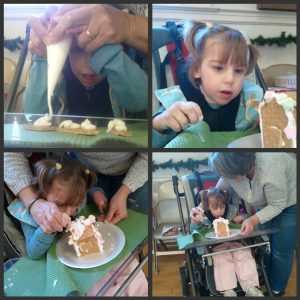
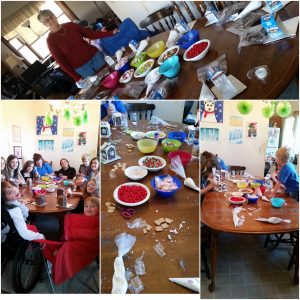
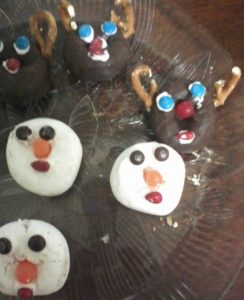 When I first put this together I tried it out. I had a few of my grands over and we did two of the activities. We made donut snowmen and donut reindeer. We learned that frosting and candies do not stick on powdered donuts very easily! We learned that if you don’t keep an eye on them, the noses will disappear from the snowmen’s faces. (Jack was that you?)
 When I was a girl I lived in a series of small towns. Just before the start of the new school year, there was a holiday called Labor Day. I had no idea what it was about but I knew it meant school was starting.
 description of each book
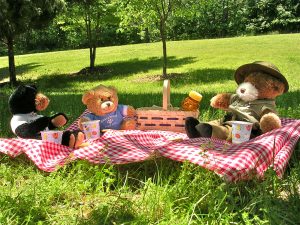
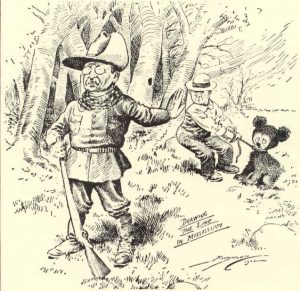
 July 10 was officially named National Teddy Bears’ Picnic Day in 1988. Why not celebrate July 10th with your family and have a beary good time! You will find some teddy bear picnic ideas in this article to get you started.
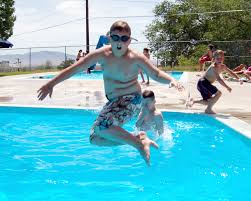
 I recall an Easter when I was a girl. There were nine of us children and my mom and dad lived on a shoestring. This particular year my mom couldn’t afford baskets and so she made a nest of Easter Grass (very cheap) for each of us. To make it more exciting she hid the nests all over the house. I recall mine was in the bathroom shower. I had a very creative mother. : )
 Here is another very readable Easter book, Henri, Egg Artiste by Marcus Pfister. I like it because it’s about art!
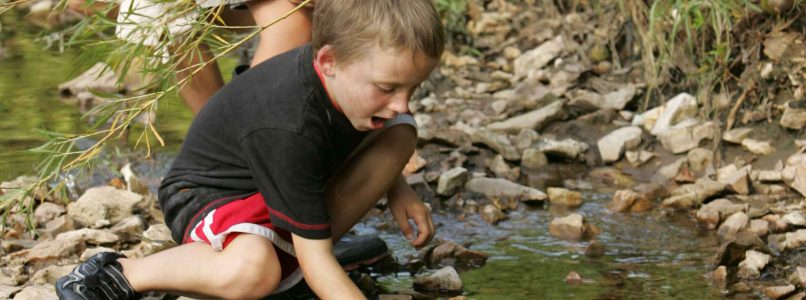
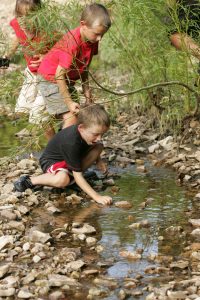 Spring is on the way! In my day that meant playing outdoors but things have changed.
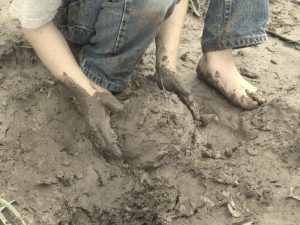 find very large stones.Then we made a big pan of mud which we frosted the stones with. As soon as our “cakes” were frosted we decorated them with bits of leaves, grass, twigs, and flowers. Then we set them in the sun to dry. We got pretty creative. We played that game over and over all summer long.
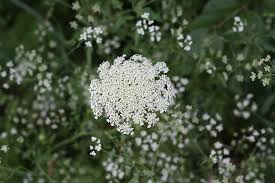 Queen Ann’s lace was cauliflower, yellow flowers were butter and we collected seeds and berries from plants, like her honeysuckle bush. We just picked whatever was available. It was really fun.
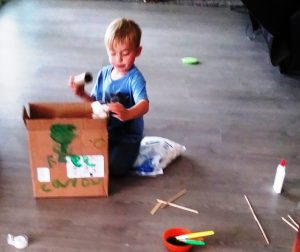 toilet paper tubes, cardboard corners off the frames I bought, old keys, pieces of plastic, – you know junk. Today Ben and Mary made leprechaun traps using the junk from the drawer. They had a wonderful two hours of creating. No technology, just themselves, their imagination and fun.

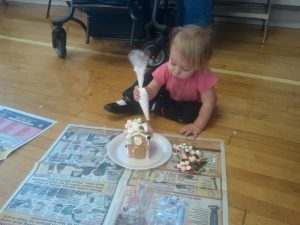
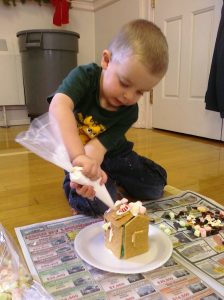
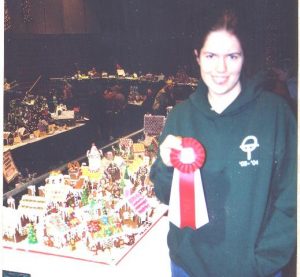
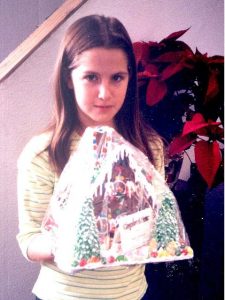
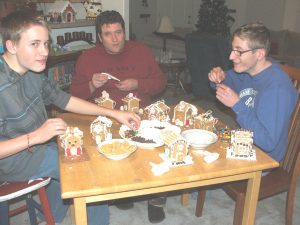
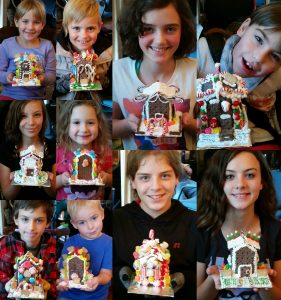
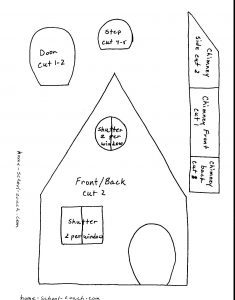
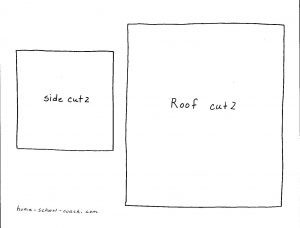
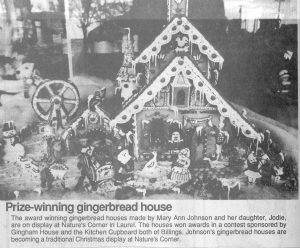 In my time I have made some award-winning gingerbread homes. I’ve made whole villages. I’ve made Ferris wheels and merry-go-rounds that actually move. I LOVE making gingerbread creations.
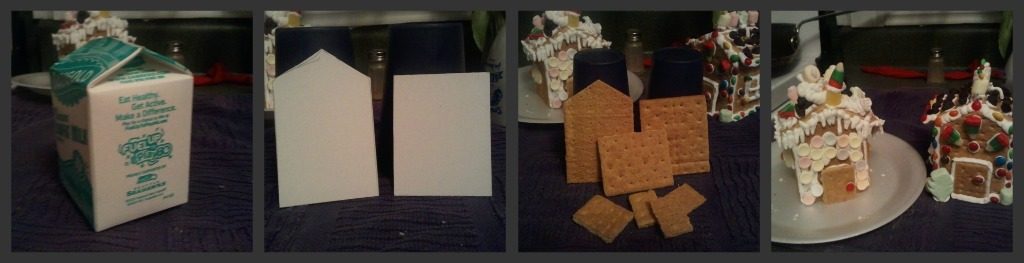
 the extra cost!